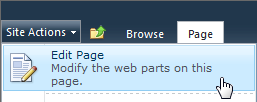
This example shows the simplest steps required to add SearchUnit to your SharePoint site using Visual Studio 2010.
Currently there is a known issue with the design time support when creating a Visual Web Part project for SharePoint however working with the ASPX directly, as explained below, is very straightforward.
(If the SearchUnit controls are not in the ToolBox already, they can be added by manually navigating to the product DLL and dragging 'Keyoti2.SearchEngine.Web.dll' to the toolbox).
Set the IndexDirectory property of the SearchResult control, to the path of the IndexDirectory created above. This will need to be set in code;

(Typically under C:\Program Files (x86)\Keyoti Inc\SearchUnit)
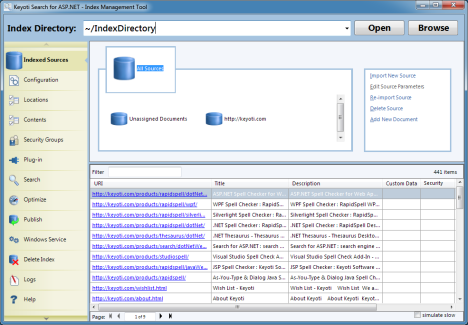
Open the folder containing the DLL's for your .Net Framework version and open 'Keyoti Search Index Manager Tool Launcher'.
e.g. C:\inetpub\wwwroot\wss\VirtualDirectories\7803\IndexDirectory
The Configuration file for your Index Directory will need to be changed to allow the crawler to access a SharePoint site using IIS authentication. Click the Configuration tab and find the 'WebsiteCredentials' section.
Enter the path to your SharePoint site followed by the username and password for a user that has access to the parts of the site you want to be searchable (Administrator for example).
Under 'More Options' you can specify path matches that should be ignored during the import (admin only sections for example) and/or set only those path matches to be included in the import. E.g. "/_" was ignored so all paths containing "/_" will not be indexed.
Once you have the desired settings close the form and click 'Import' to begin indexing your SharePoint site.
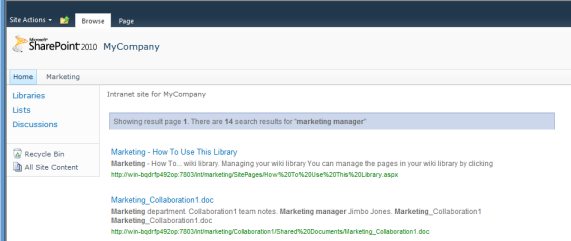
Try a test search. Should you have any trouble please email support at keyoti.com
When enabling the Auto Complete or Result Previewer features you will need to add a httphandler in IIS;